Recipes will many times call for a very specific sized cake springform. And size does matter! If you would pour the batter into a larger form the cake will be as high as a pancake. Or the form will not be large enough to hold all the content should you use a smaller one.
OK, but putting the technicalities of weight and volume aside, why would I want to invest in one, if I am not sure I am going to bake / make that cake on a regular basis? The thing is, you don’t have to! If you are going to make a raw cake, you can make yours in the comfort of your own home. What you will need for this project is a pizza box, a couple of simple tools and about 30 – 40 minutes of your time. Here is how.
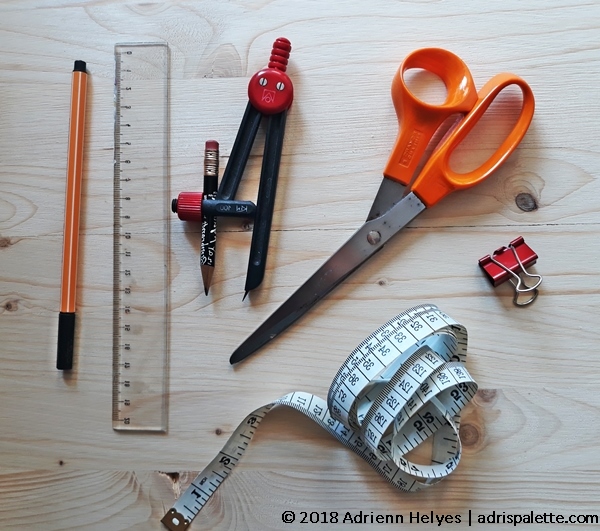
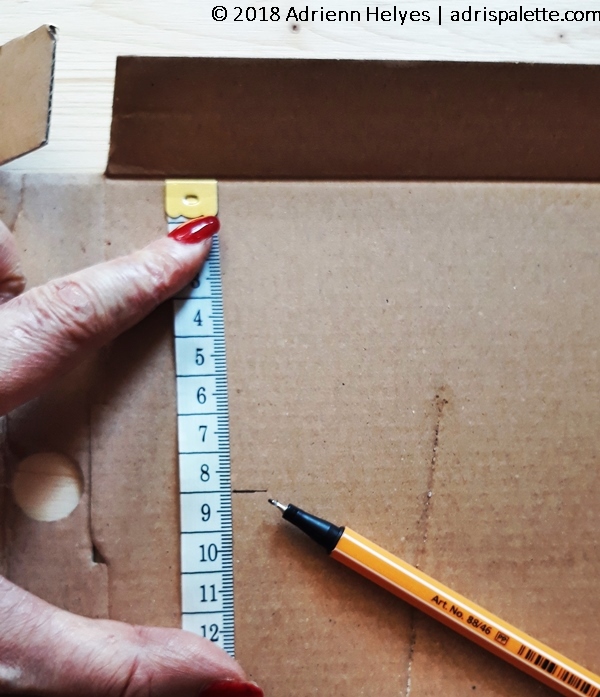
Take out a marker, a ruler, a measuring tape, scissors, a paper clip or two and a compass. If you don’t have a compass, a plate that is the approximate size of your cake will do just fine.Open up the pizza box (including the flaps) and lay it flat on your table. The shaded areas are the ones we will need for the springform.Decide how high you want your springform to be. I went for 8 cm. Measure that distance from the fold where the flap begins. Continue making marks at this same distance every 10 cm or so.
How long should your springform’s side be? It all depends on the diameter of your spingform. Here is how to calculate it: multiply the diameter with 3,14 then add 10 cm as extra. Example: for an 18 cm springform multiply 18 cm x 3,14 = 56,5 cm. Adding 10 cm extra, I will be cutting out a 66 cm long strip from the pizza box.
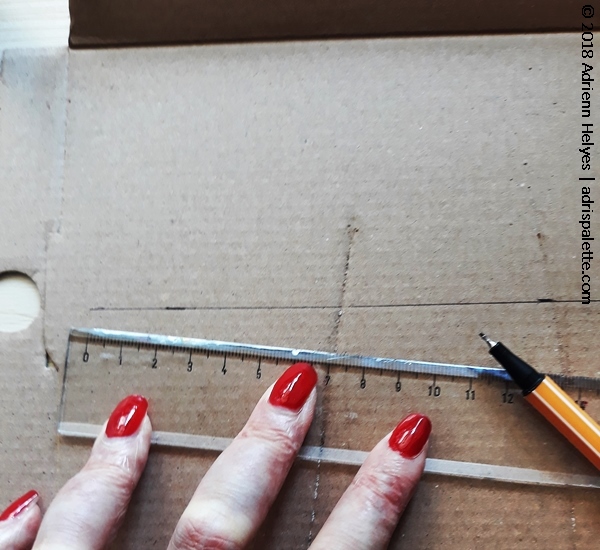
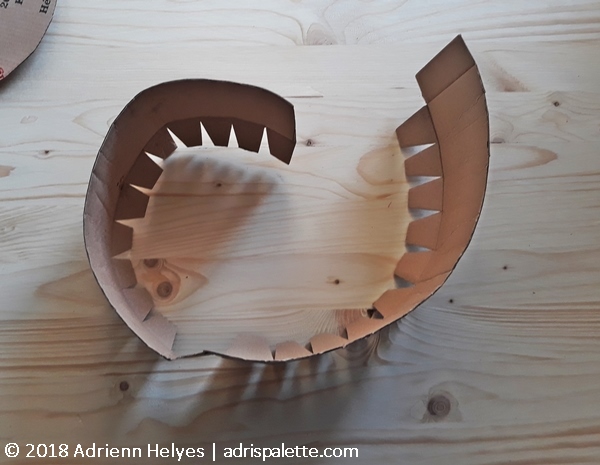
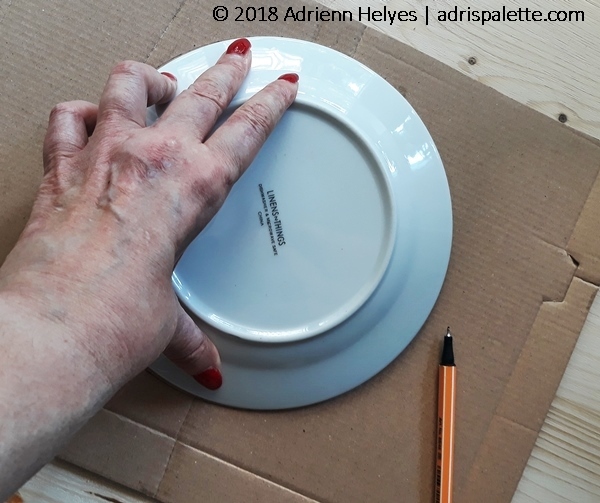
Connect the dots to form one continuous line. Measure out the size you need for the side of the springform (as described above) and cut along the line. You now have your side!Now let’s focus on the flaps. Cut out small triangles every 4 – 5 cm or so. This doesn’t have to be that precise!Now that we have the side use your hands or a smaller pot to help mold the stiff cardboard into a rounder shape.This is what it should look like.Now let’s make the base! Either use a compass to draw your circle, or if you don’t have one, draw around a plate that is similar in size to the springform you want to make. Don’t worry if it is not the same size, as we will be correcting it in the next step.If your plate is smaller or larger than the springform you want, correct the size. Measure out half of the difference all around, making small marks along the way. Then connect the dots and voila! You got your base. Example: my plate was 1,2 cm larger than needed. So I measured in 0,6 mm all around to get my 18 cm springform.
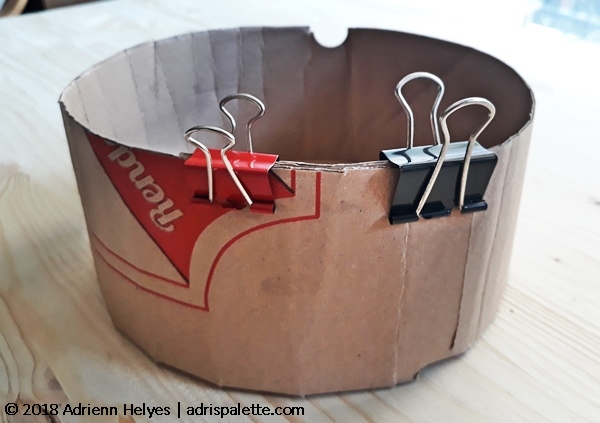
Let’s assemble the springform!
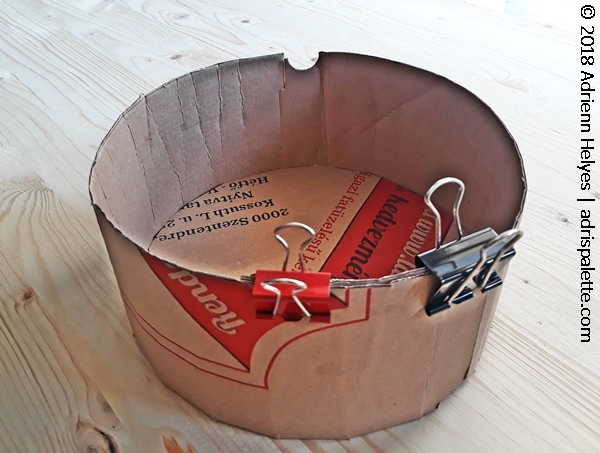
Take the side panel of the springform. Shape it into a circle. Fix the sides with the paper clips. Fold the flaps to the inside of the form.Slide in the bottom. If the bottom does not want to go in, or there is more than enough room for it adjust the sides and the position of the clips. The bottom will now rest on top of the little flaps.And here it is! Your finished cake springform ready to use.I used mine to make this raw cheesecake and it worked like a dream!
A couple of notes:
The flaps on the bottom of the side will not hold up the bottom once you pour your batter in! Place the lined springform on a plate and then proceed to fill it with the content of your choice.
Line the springform with either parchment paper or plastic foil before pouring any batter into it. It will protect both the content and the springform.
The springform will not have an airtight seal. Therefore something that is quite liquidy will pour right out of it. As from any tin springform, for that matter.
I am a 30-something artist/craftswoman who finds a creative outlet from everyday life in the arts. Be it the art of painting, the crafts or the art of cooking, I embrace it with the same ardor and passion! This blog is the diary of my crafty life with a side of wit. Enjoy a look around and see what I am all about.
Thanks for stopping by!


Leave a comment